Large-scale horticultural greenhouse construction can get complicated quickly, especially when there are many things to take into consideration before you can break ground. Add in managing multiple contractors and vendors, and the complications can compound.
To construct your horticultural greenhouse facility successfully, you’ll need to ensure that things are done right every step of the way—from site evaluation and compliance review to civil work and greenhouse construction.
This article will help you learn the key steps in large-scale horticultural greenhouse construction, including site selection, compliance, build requirements, construction, infrastructure, physical building, and project completion.
How to Select Your Architect, General Contractor, and MEP
Choosing the right people for large-scale horticultural greenhouse construction can make or break your project, so before you even begin to lay money down on your project, you’ll need to thoroughly vet your team.
Why You Need an Experienced Greenhouse Contractor
To begin large-scale greenhouse construction, it is essential to select a contractor who meets your needs and has experience in building commercial greenhouses.
It’s to your benefit to have a contractor well-experienced in greenhouse construction work on your project because they will be more familiar with the style of construction.
What to Expect From Your Greenhouse Architect
The architect typically coordinates the different engineers* required for the project. Often, when you consult a local architect, they’ll have a preferred group of people they like to work with, who specialize in soil tests, foundations, and civil work.
Your ideal architect would be accustomed to taking all those different inputs and putting it all together into what is called a design review pack for the building department.
Prospiant works within that whole subset of groups who work with the architect, and we provide the structural information for the architect to build their design review package.
The architect is also going to be familiar with different code compliances that they need to know about for large greenhouse projects, such as fire suppression, occupancy level, and ADA accessibility for handicapped accessibility.
The Role of the General Contractor
A general contractor can do a lot of the same work as the architect but typically works outside of the architect and coordinates the various tradespeople.
One of the last steps in this initial build planning process for large-scale horticultural greenhouse construction is to have the MEP (mechanical, electrician, plumber) come in and sign off on all the different pieces of equipment, such as plumbing, electrical, and gas lines.
Industry Experience Makes a Big Difference
You can choose any general contractor, but building experience with home or office construction does not necessarily translate to greenhouse construction success!
Someone who knows the tricks of the trade for building large-scale commercial greenhouses needs to have industry-specific experience.
For example, an experienced greenhouse builder may want to put the flashing on the trusses before lifting the trusses into place, saving time and money.
You are going to have a shorter build time and less problems with an experienced greenhouse builder.
Additionally, a greenhouse-industry experienced architect will be familiar with greenhouse production processes and structures.
This is to your advantage because the architect can do the layout of the greenhouse, and they’ll be familiar with the types of equipment you’ll need and the processes that will take place in your head-house or staging area.
Site and Structure Selection for Large-Scale Horticultural Greenhouse Construction
Figuring out what kind of greenhouse structure you’ll need is critically dependent on your geographic location, its climate, and seismic activity.
A site evaluation will help you determine whether your greenhouse structure can fit on the site.
As part of the evaluation process, you should also identify space for future expansion and other facilities you might need.
Environmental elements of your site, like soil composition and terrain, should also be studied before construction takes place.
Other questions to consider include:
- Does the city or county permit greenhouse growing within its boundaries?
- Is the greenhouse approval process streamlined?
- How close is your site to highways and major distribution pathways?
- What is the local climate? How much rainfall? What kind of wind does the site get? What are the snow loads? Amount of sunlight?
You may want to avoid general population areas for a large-scale commercial greenhouse, but you’ll need to consider all the elements above.
Land prices may be cheaper, but your operational costs, utilities, and transportation expenses will likely be higher.
Load Reviews: Choosing your Greenhouse Type
Greenhouse loads cover the different things that are going to happen to your greenhouse structure based upon where its located. This includes everything from wind loads, snow loads, and seismic loads.
These loading aspects will vary from site to site. When selecting your horticultural greenhouse structure, it’s important to consider what the design of your structure is going to have to withstand at its location.
For example, if you’re in a heavy snow load area, you’re probably not going to want a structure that has a double poly-roll plastic roof.
Rather, you’re going to want a structure with an A-frame and a hard, rigid covering that can stand up to the snow loads.
Live and Dead Loads
The same principle applies to wind and seismic levels, which are considered live loads.
But we also must consider dead loads too, such as light and heating and cooling equipment and shade systems.
Cheaper structures, for example, bent tubing for a high-tunnel structure, probably won’t be able to pass any kind of code for supporting the different dead loads inside the greenhouse.
The live and dead loads all need to be taken into consideration when choosing a specifically engineered* structure to take on those types of forces. This is especially important for large-scale horticultural greenhouse construction.
Typically, greenhouse engineers* will tighten the truss spacing to manage the varied wind and snow amount. Instead of having a 12-foot truss you may have a 10- or 8-foot truss to withstand different loads.
Reaction Loads
Reaction loads are facing loads against a column which are used in conjunction with soil tests. For example: How hard does the wind blow? How hard does the snow fall against the greenhouse? What kind of stresses does that create where the column is anchored into your foundation?
Prospiant provides calculations for all these loads, which, in conjunction with your soil engineer’s* test, will then factor into creating your foundation inside.
We can build our structures to meet any specific loads, meaning we can put these structures anywhere in the United States or Canada. and we can meet any load requirements that are out there.
Laying the Foundation
The foundation of larger commercial greenhouses is usually cement but can be other surfaces such as rocks, gravel, or a ground cover cloth. We do recommend concrete, however, because it’s much easier to work with.
When you’re building a foundation, you’ve got your columns on top of it, and your trusses go on top of your columns.
Using a concrete slab as the foundation of your greenhouse increases greenhouse cleanliness, reduces humidity, and enables better transportation of growing equipment and the crop.
Concrete slabs will have higher costs yet contain substantial benefits.
In preparation for laying the foundation, your architect will take the abovementioned reaction loads along with the soil test (to measure soil compaction) and the geotechnical engineer* will design the foundation for the structure.
After this has been completed, the architect will typically lay in the foundation design on top of the Prospiant structural designs and create a unique architectural layout, which will then be submitted to the city for review and approval.
Benefits of a Concrete Greenhouse Foundation
Concrete increases your cleanliness because it’s much easier to keep the foundation clean, as there is less surface area versus a rock substrate or any type of ground cloth cover.
Less surface area equals fewer pathogens, fewer places for mold spores, and less places for bugs to populate.
A concrete slab also reduces humidity, as it’s typically built with floor drains, making it easier to keep dry.
Concrete also allows for better movement of growing equipment and makes it easier to harvest crops as you move through your greenhouse.
Although concrete slabs have a higher cost, ultimately, they do deliver substantial benefits.
However, they are much easier to install during initial large-scale horticultural greenhouse construction versus doing a retrofit later.
Setting Columns and Trusses
Once workers pour the concrete slab, they set the columns and trusses.
Prospiant greenhouses use pre-manufactured trusses to support the roof. We manufacture prefabricated trusses at our facility that we carefully design to carry the roof’s load to the outside walls.
Cost savings, construction speed, consistency, and strength can result from using prefabricated trusses.
Additional advantages of roof trusses in large-scale horticultural greenhouse construction include:
- The use of professional design and fabrication techniques. Engineers design a trussed roof system to accommodate the specific roof design and meet building code requirements to enable more uniform sizes and roof pitches.
- Roof trusses span much longer distances without the need for load-bearing interior walls.
Roof Coverings
Standard greenhouse coverings are high light-transmitting materials. The use of natural light through these coverings is a tremendous cost savings compared to relying solely on high-intensity growing lights.
In addition, greenhouse coverings have various characteristics that enhance the growing environment. For example, some coverings will diffuse the light by giving a more uniform and deeper light penetration.
Polycarbonate structured sheets, either in multi-wall or corrugated configurations, are commonly used in the greenhouse industry.
The multi-wall sheets give the user energy savings over single-wall polycarbonate, while the single-wall covering will have a higher light transmission for the plant.
Both types of sheets can be manufactured with light-diffusing abilities.
The use of metal and insulation in the walls increases energy savings, lowers operating costs, and improves the overall growing environment.
This covering is particularly advantageous in the roof and walls for the work areas of the operation.
Glass is a traditional greenhouse covering used in today’s market. Current glass products allow for wider bar spacing, yet they can still withstand required snow and wind loading.
The styles of glass used include tempered and laminated. Glass attributes are high light transmission and longevity. Glass, as a single layer covering, has higher energy costs and heat gain that can be partially offset with energy curtain systems.
 - Prospiant")
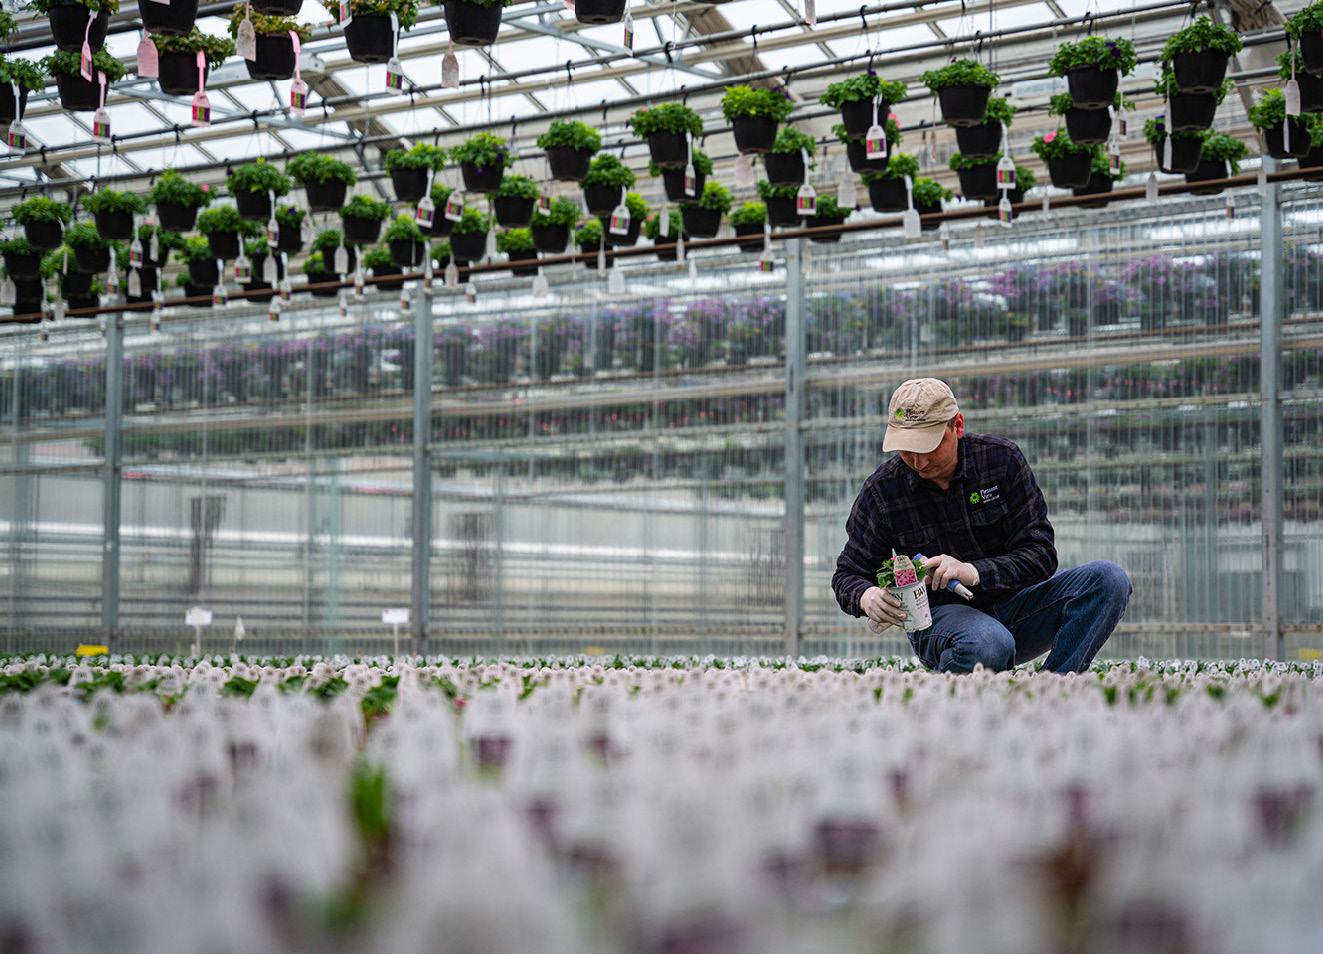
Insect Exclusion
Unless protected, greenhouses are at risk for pest infestations from the outside environment. To reduce the use of chemical insecticides and pesticides, screening is the most effective and economical strategy available.

While screening does not guarantee a completely pest-free greenhouse, it makes a major difference.
Using screens over greenhouse vent inlets can be tricky due to airflow requirements inside the greenhouse. Screens create resistance, which reduce airflow and affect the operation of the cooling/ventilation system. When the mesh openings in the screen are larger, there is less resistance.
Appropriately matching the mesh type to the pests that you are trying to exclude is important. Maximizing the screen hole size allows the ventilation system to work more efficiently.
Your greenhouse design team needs to consider these factors when professionally designing the ventilation equipment for your large-scale commercial greenhouse.
Buildout Steps Summary
Not always in this order, but this is a typical buildout process for large-scale horticultural greenhouse construction:
- Drawing up plans and submission for approval
- Site Preparation – Utilities, Grading, Soil Tests
- Foundation and Flooring
- Setting Columns and Trusses
- Purlins and Wall Framing
- Roof, Coverings, Curtains
- Equipment Installation
- Electrical, Plumbing, and Water Connections
- Final Inspections
Large-Scale Horticultural Greenhouse Construction Project Timeline
Typical 20-Week Build Schedule*
- 1-2 weeks for proposal design
- 3-4 weeks for engineered* drawings
- 4-6 weeks for production and delivery
- 7-8 weeks for construction
*Contractor schedules can vary due to size of project, location, and scope of greenhouse equipment.
Proposal Design
A basic timeline for a greenhouse build can vary a little bit depending on several factors. However, typically allow 1-2 weeks for design work to produce what we call a proposal design.
During the proposal design phase, we meet with you to determine what you would like to design, what type of structure you need for your location, and what your specific requirements may be.
Engineered Greenhouse Drawings
Then we have about 3-4 weeks for commissioning the engineer* drawings wherein our engineers* draw the plans you will need to take to your building department for approval.
You need the engineer’s* drawings to bid out your project as well as for greenhouse construction.
Production and Delivery
The next step takes around 4-6 weeks (about one and a half months) for production and delivery. Once the building department approves your plans, you come back to us and say okay, we are ready to go to production!
As soon as we go to production, it could be anywhere from 4-6 weeks (about one and a half months). If it is a significantly large project, then it might take 6-8 weeks or even longer.
It all depends on the size of your facility, but 4-6 weeks is normal.
Construction
The 6–8-week timeline for commercial greenhouse construction is completely dependent upon the size of your structure, who you use for your general contractor to put the structure up, and any other variables such as labor staffing or weather.
The caveat here is contractor schedules can vary due to size of the project location and scope of equipment. But this is a basic project timeline.
As a general rule of thumb, you can estimate a minimum of 3 to 5 months from the project’s start to its completion, depending on the scale of your greenhouse project.
Building Department Inspections
Your local Building Department will have specific steps to go through for large-scale horticultural greenhouse construction, and these will vary depending on your state, county, or city.
The following is a general overview of the types of building inspections you’ll need to complete to construct your new greenhouse.
Plan Approval: Once you have engineered* plans drawn, you’re going to submit those to the building department who will review them and approve or recommend changes. Typically, these changes may be along the lines of adding some doors or some fire suppression.
Structural Inspections: After plan approval, structural inspections will include a foundation inspection, as well as mechanical, electrical, and plumbing inspections.
These various inspections throughout your greenhouse construction process will culminate in your final building inspection, which is where you obtain your Certificate of Occupancy, otherwise known as your C.O.
Qualified In-House Talent
- In-house engineering* for all disciplines
- We work with P.E. Registered partners as required
- Extensive nationwide qualified installer network
- Qualified and experienced Project Managers OSHA 10/30 certified
*We work with partners to ensure proper, compliant performance of engineering and design services.